You've invested in the trip of a lifetime — don't come home with blurry photos. Here's everything our guides know about capturing extraordinary wildlife images on safari.
You have spent a year planning, months saving, and thousands of dollars to be in one of the most photographically extraordinary environments on Earth. The difference between coming home with images that make people gasp and images that look like every other safari snapshot is not your camera — it is your understanding of light, timing, and the specific technical challenges of wildlife photography from a moving vehicle in dusty, high-contrast African light.
Camera and Lens Fundamentals
The most important piece of equipment for safari photography is your lens, not your camera body. A lens that reaches 400mm or 500mm is the minimum for filling the frame with lions, leopards, and other wildlife at typical safari distances. The Canon RF 100–500mm, Nikon Z 100–400mm, Sony 100–400mm GM, and Sigma/Tamron 150–600mm are all excellent safari lenses. Budget photographers can achieve excellent results with mirrorless cameras like the Sony a6700 or Fujifilm XT-5 paired with an adapted telephoto lens.
Your camera body matters less than your lens, but modern mirrorless cameras have transformed safari photography with exceptional continuous autofocus (subject tracking), high burst rates (15–30 frames per second), and extraordinary high-ISO performance that allows clean images in the low dawn light when predators are most active. Sony, Canon, and Nikon all produce safari-capable mirrorless cameras across a range of price points.
Camera Settings for Wildlife
| Situation | Mode | Recommended Settings |
|---|---|---|
| Fast-moving animals (running) | Shutter Priority | Shutter: 1/1000s+; Auto ISO; Continuous AF |
| Stationary predator | Aperture Priority | f/5.6–f/8; Auto ISO; Continuous AF |
| Dawn/dusk low light | Manual or Auto ISO | Shutter: 1/250s+; max f/4–f/5.6; ISO up to 6400 |
| Birds in flight | Shutter Priority | Shutter: 1/2000s+; AF tracking mode; burst |
| Wide landscape | Aperture Priority | f/8–f/11; low ISO; polarising filter if available |
The Golden Hours
The most important photography concept on safari is simple: light quality, not animal proximity, determines your best images. The hour after sunrise and the hour before sunset — the golden hours — deliver warm, directional, flattering light that transforms even a static lion into a cinematic image. The midday sun creates harsh, unflattering overhead light with heavy shadows.
This aligns perfectly with safari logistics. Dawn game drives, starting at 6:00–6:30 AM, catch the golden hour as well as the most active predator period. Afternoon drives from 3:30–4:00 PM position you in the field for the pre-sunset golden hour. The midday period — when most camps have lunch, a rest period, and afternoon nap — coincides with the least productive photography light. Use that break well, then be back in the field for the afternoon gold.
Shooting from the Vehicle
The safari vehicle is your photography platform, and using it correctly makes a dramatic difference to image sharpness. Engine vibration is the enemy of sharp images — turn the engine off the moment you stop at a sighting, and make sure your guide knows to do this. A running engine at 400mm creates visible blur even at fast shutter speeds.
The beanbag is the safari photographer's best friend. Draped over the window rim (or the open roof hatch lip in a pop-top vehicle), a beanbag absorbs vibration and provides a stable, angle-adjustable platform for your lens. It is simpler, more versatile, and more effective than a monopod or any other vehicle-mounted system. Bring one, or ask your operator to provide one — many quality operators carry them.
Shoot at Eye Level When Possible
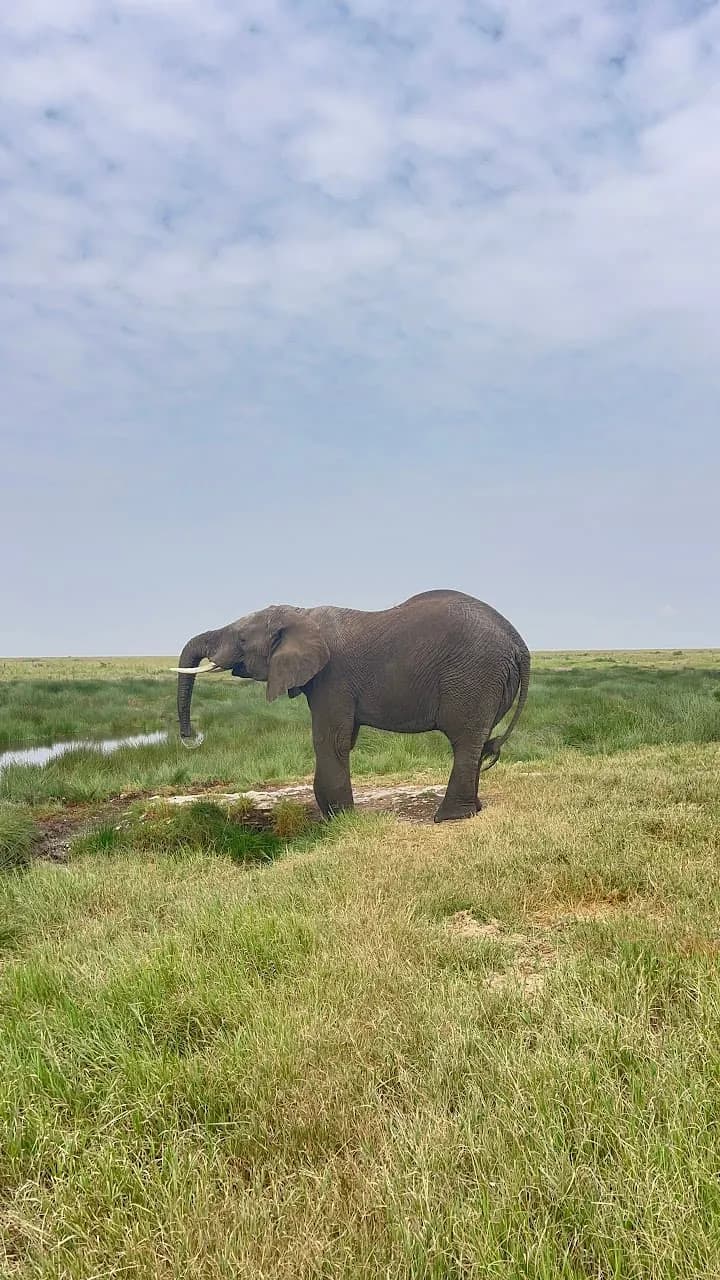
The most compelling wildlife portraits are taken at the animal's eye level, not from above. This often means shooting from the seated position through the window rather than standing up through the roof hatch. A lion photographed at eye level from a window, with background blur from a wide aperture, almost always beats the same lion photographed from above through the roof.
Composition Principles for Safari
- ›Rule of thirds: place the animal's eye on a grid intersection, not in the centre of the frame
- ›Background matters: check what is behind the animal before pressing the shutter — a vehicle or another tourist ruins an otherwise excellent shot
- ›Include habitat: a lion filling the entire frame is impressive; a lion in the context of the Serengeti landscape tells a story
- ›Space for movement: leave space in the frame in the direction the animal is facing or moving
- ›Patience over quantity: waiting for the right moment — a yawn, a head turn, a direct gaze — produces far better images than machine-gunning the shutter at everything that moves
Managing Dust
Dust is the greatest practical threat to your camera equipment on safari. Dry-season game drives generate significant dust, and even small amounts of dust inside a camera or on a sensor create problems. Keep cameras in a camera bag or dry bag when not in use. Change lenses inside a vehicle with the windows closed, working quickly. Bring a blower and lens cloth for daily cleaning. Consider a UV filter on your most-used lens to protect the front element from sand impact.
The best safari photographs are not taken with the best cameras — they are taken by photographers who got up early, understood the light, respected the animals' behaviour, waited patiently for the decisive moment, and had a guide skilled enough to position the vehicle correctly. Gear matters, but not as much as being in the right place at the right time with the right knowledge.
Based in Arusha, Tanzania
Ready to Experience It First-Hand?
Our expert team creates custom itineraries for every budget and timeframe. Get your personalised quote within 24 hours.